Managing Your Components
Once you've added components from the Library, you'll need to manage them on the canvas. Here’s how to keep everything organized.
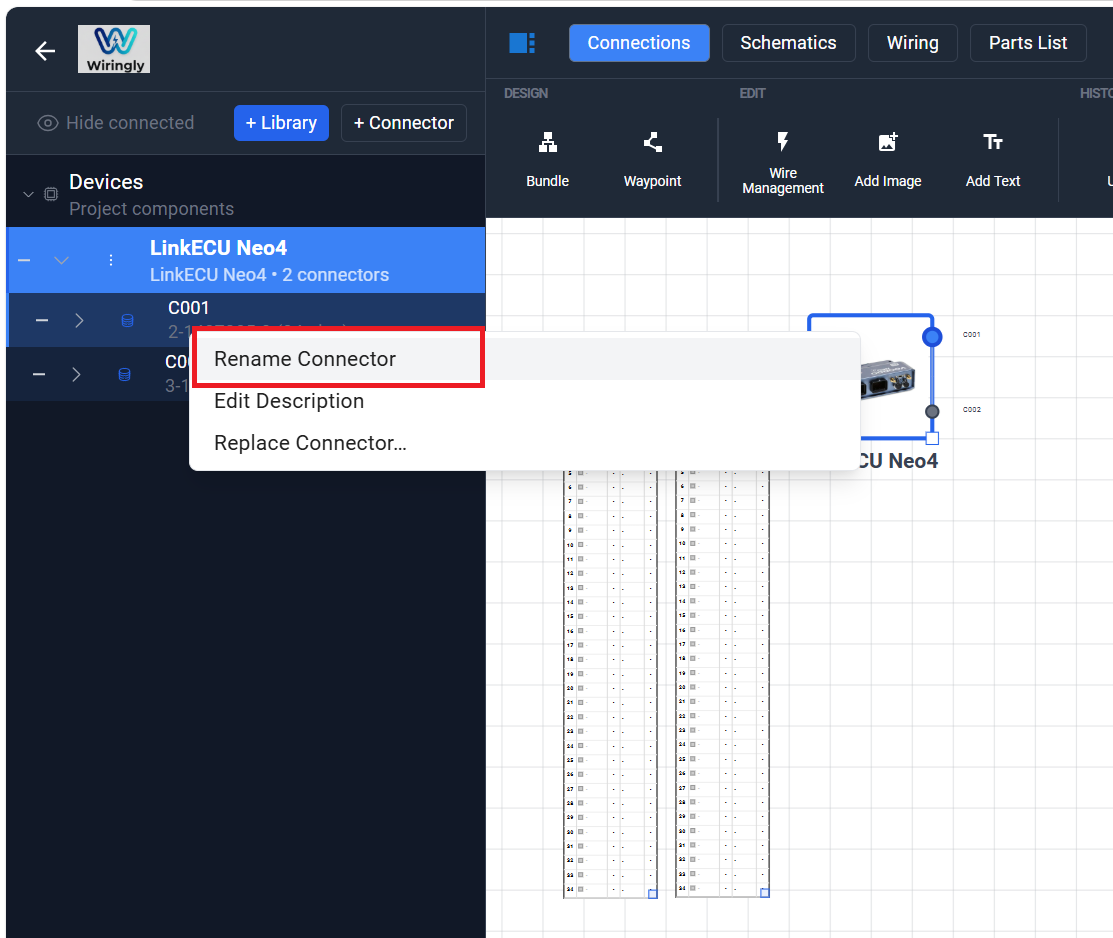
1. Renaming Connectors
This is probably the most important thing you can do for a clean design. By default, connectors get names like "C001." Right-click the connector handle on the canvas or in the Device Tree and select Rename.
Give it a name that makes sense, like "Main ECU" or "Rear Lights." This makes life much easier when you're looking at the schematics later.
2. Editing Component Properties
Need to add a part number or a specific description? You can edit the properties of any component on your canvas. This information will automatically show up in your Parts List (BOM) later.
- Description: Useful for adding notes about mounting or specific pin requirements.
- Part Numbers: Keep track of exactly what connector and terminals you need to order.
3. Fixed Scaling and Rotation
Every build is different, but harness design requires absolute precision. To ensure your design is accurate, Wiringly enforces Fixed Scaling.
- Physical Sizes: Components on the canvas strictly follow the dimensions set in the library. This ensures that when you print your Formboard, every ECU and connector is exactly life-sized.
- Rotating: While you cannot stretch a component, you can rotate it to fit your routing. Select the component to see the rotation handle, allowing you to orient the part for the best wiring flow.
4. Using the Library Effectively
The Component Library is your best friend. If you find yourself using the same sensor over and over, make sure it’s set up with your favorite wire colors in the library.
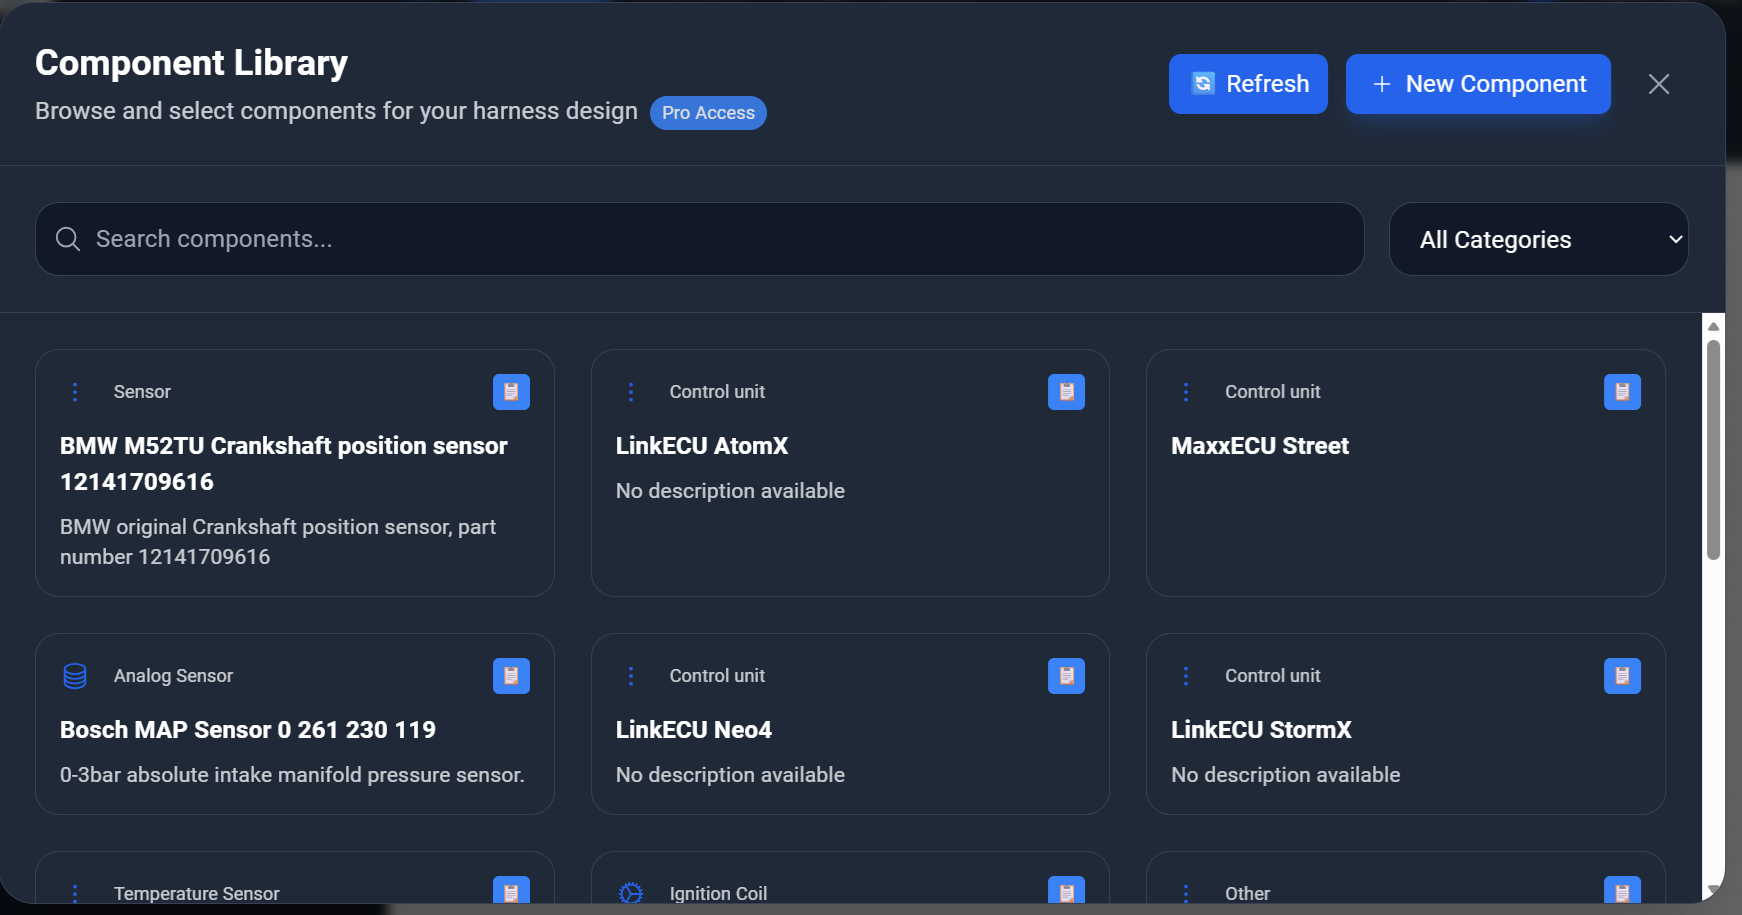
- Search: Use the search bar to quickly find what you need.
- Categories: Filter by "Sensor," "ECU," or "Connector" to narrow things down.
Remember: Time spent setting up a component correctly in the library saves ten times that amount during the design phase!