Master the Canvas
The canvas is where all the magic happens. It's designed to be flexible, allowing you to lay out your harness exactly how you want it. Here's a quick guide on how to get the most out of it.
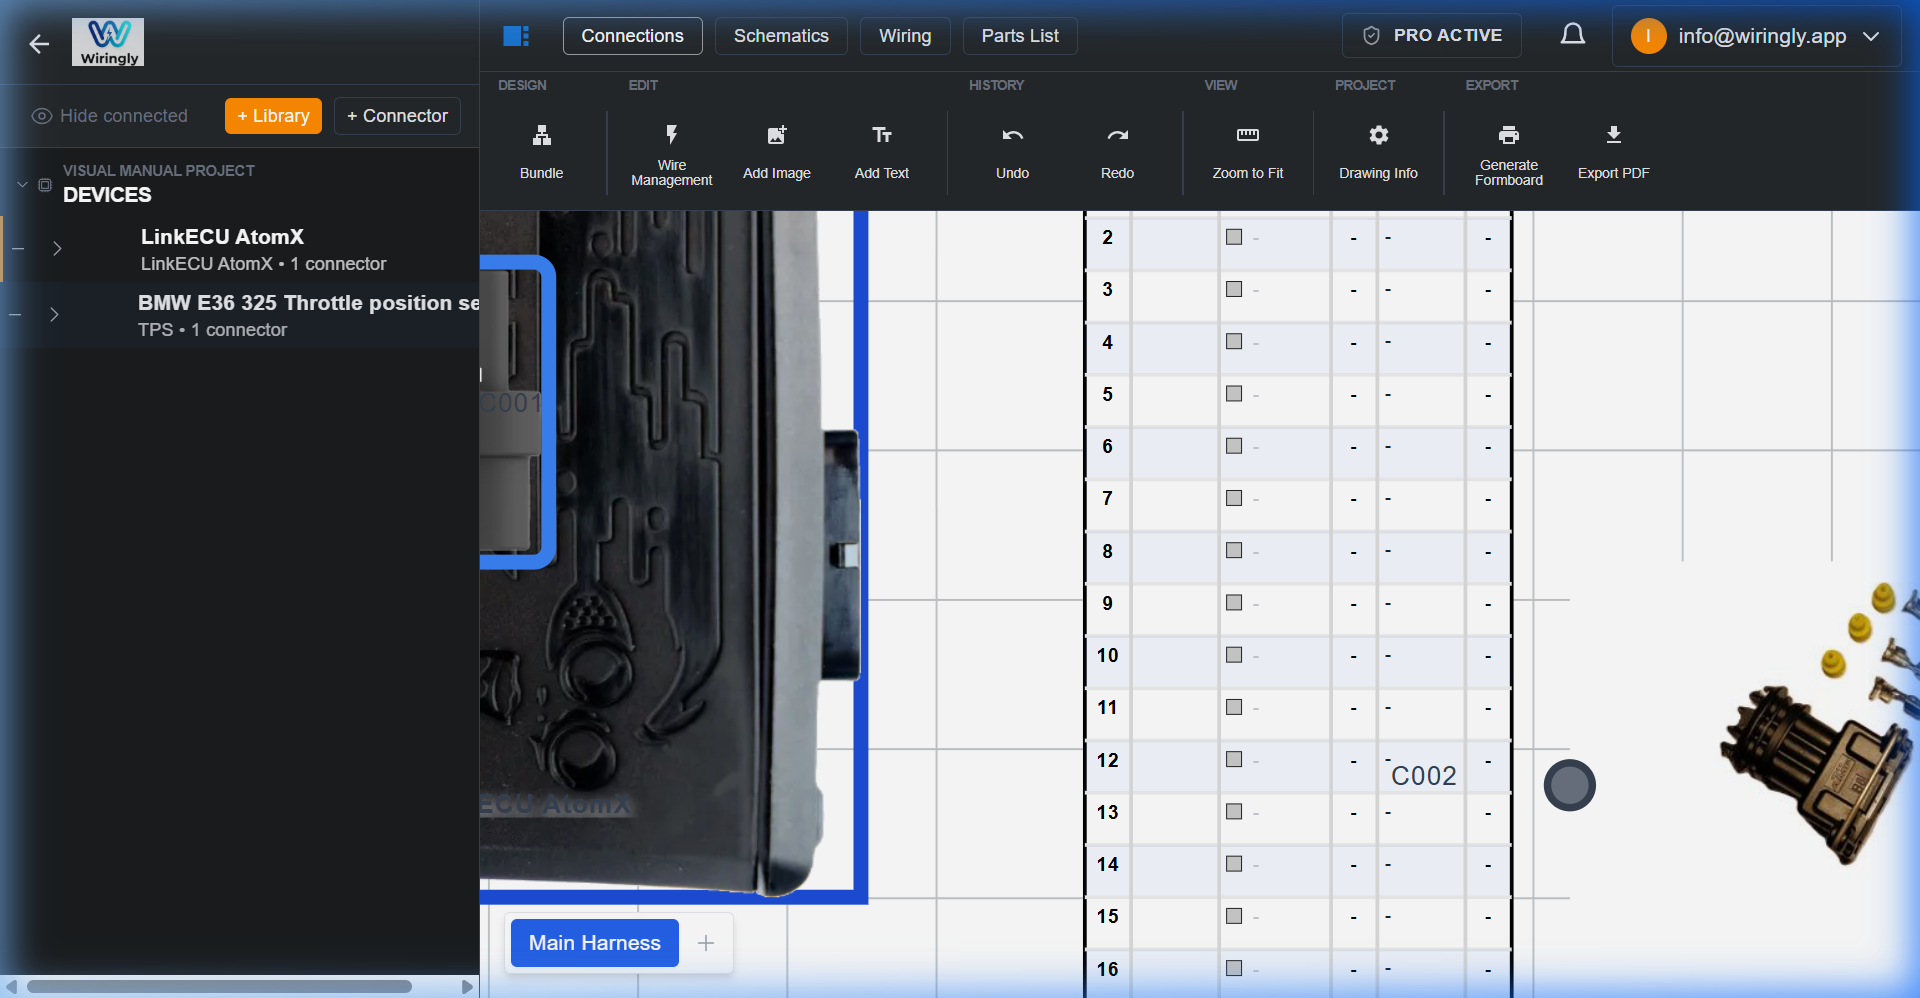
1. Zooming and Panning
Working on a small laptop? No problem. Use your mouse scroll wheel to zoom in and out. If you want to move around, just click and hold the middle mouse button (or use the spacebar + left click) to pan the canvas.
If you ever get lost, there's usually a Zoom to Fit button in the ribbon to bring everything back into view.
To keep the canvas responsive during complex builds, Wiringly caches wire data locally and uses lazy-loading for library images. This ensures smooth navigation even in projects with hundreds of components.
2. Adding Text and Images
Sometimes a wiring diagram needs more than just wires. You might want to add a note for yourself or a logo for the project.
- Adding Text: Click the Text icon in the ribbon. Click anywhere on the canvas to drop a text box. You can then type your notes, change colors, or resize it to fit.
- Adding Images: Use the Image icon to upload a reference photo or a custom logo. This is great for adding connector pinout diagrams directly onto your 1:1 Formboard.

3. Grid and Snapping
To keep things neat, we have a grid system. Most objects will "snap" to the grid, making it much easier to align components and keep your wires looking professional.
 Toggling the grid for precision placement.
4. Keyboard Shortcuts
Undo/Redo: We've all been there. If you accidentally delete a component, hit the Undo button in the ribbon (or Ctrl+Z).

5. Arrange for Readability
Don't be afraid to move things around!
Independent Dragging: You can drag basically everything independently. Components, pin lists, bundle lenghts etc. Arrange those so that they don't interfere each other and keeping the canvas easy to read.

-
Rotation: Right-click any component to rotate it in 90-degree increments. This is essential for orienting ECU connectors toward the main harness trunk.
-
Measurement Labels: Harness measurement labels can be repositioned anywhere on the canvas. These labels are "stable"—they will maintain their relative position even if the harness routing is modified or if wires are added to the bundle.
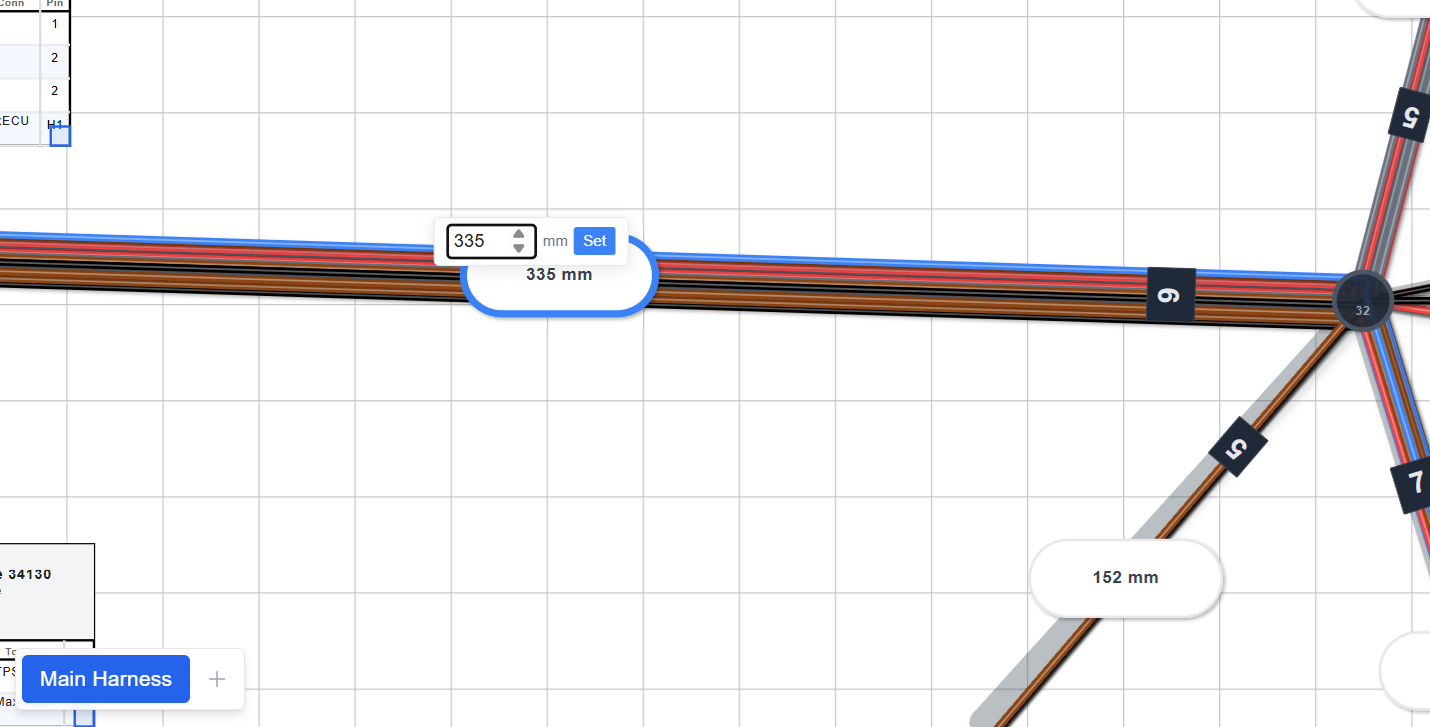 Labels maintain their relative offset even when components move.
 -
Smooth Layout: When you add a new device, Wiringly automatically creates these tables to keep your pins organized. If you want to tidy up your routing, just click and drag a table. It will move smoothly with your mouse, allowing you to place it exactly where it's easiest to read during the build.
-
Logical Flow: The goal is to make the design easy to read, especially when you're standing over a workbench building the actual harness.