Wiring and Connections
Connections are the heart of your harness. Wiringly makes it easy to manage complex wiring without getting overwhelmed.
[!TIP] Watch the Chapter 3 walkthrough below to see the complete wire connection workflow, from pinning to manual overrides and circuit highlighting.

1. Creating a Connection
To start a wire, simply click on a pin in the Pin List. This opens the connection dialog.
- From: Automatically filled with the pin you clicked.
- To: Select the destination component and pin.
If a pin is grayed out, it means something is already connected there. You can still connect to it (like for a splice), but the system just wants to let you know.
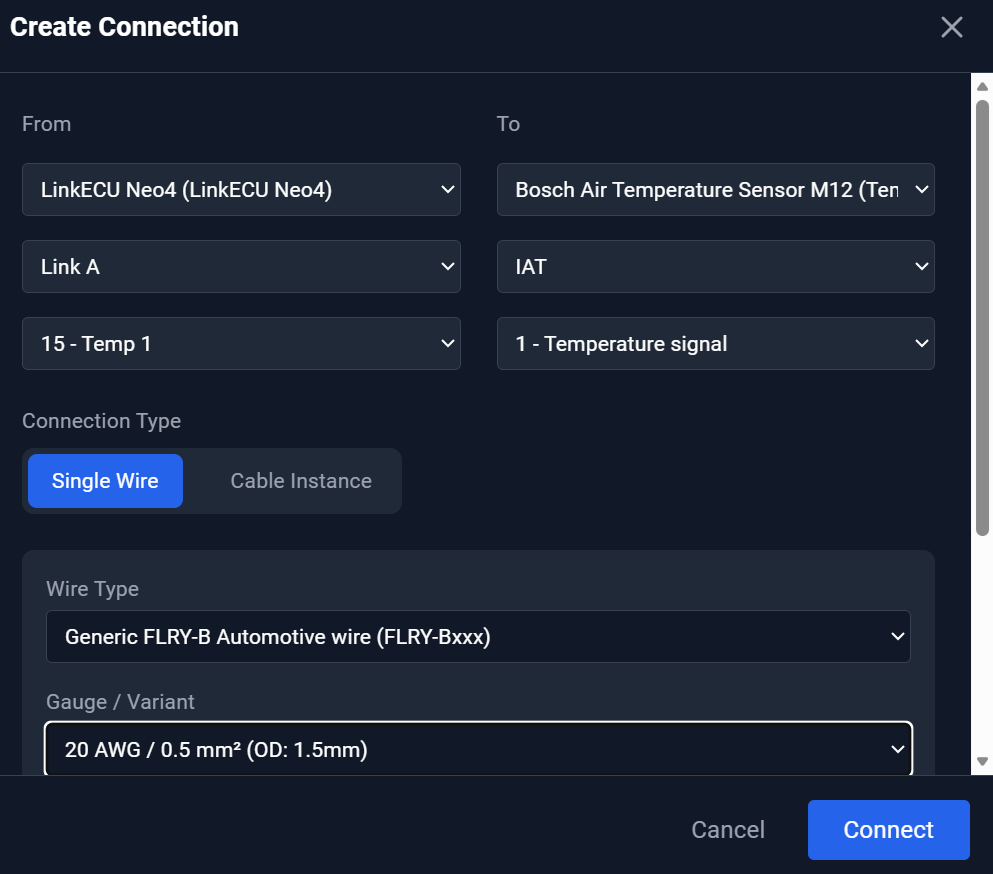
2. Wire Specs: Colors and Gauges
Correct wire specification is key for a reliable harness.
-
Wire Colors: If your ECU or control unit has colors defined in the library, Wiringly will suggest them automatically. You can always override these if you're using a different color scheme.
Manual OverrideIf you manually select a color or gauge that differs from the suggestion, Wiringly will "lock" your choice. The system will stop auto-suggesting for that specific connection to ensure your manual overrides are always preserved.
 Connection dialog showing a manual override (Blue 0.5mm) locked and ready.
 -
Wire Gauges: Make sure the gauge is correct for the current draw. You can select the gauge directly in the connection dialog. The suggestion engine uses strict name-based matching (e.g., "Red" matches "Red") to ensure consistency even if you use custom color hex-codes in your library.
3. Highlighting Wires
When your canvas gets busy with dozens of wires, it can be hard to track a single circuit.
- Click the Highlight icon next to a wire in the Device Tree.
- The rest of the canvas will dim, making your selected wire stand out clearly.
 Active circuit highlighting on the design canvas.
4. Advanced: Splices and Cables
- Splices: Just connect multiple wires to the same physical pin. Wiringly handles this naturally, and it will show up correctly in your schematics and wire tables.
- Cables: If you're using multi-conductor cables, use the Cable Inspector. This tool helps you manage the internal wires of a cable and ensures they are mapped correctly to your components.
5. Visual Feedback and Organization
Keep an eye on the circles next to your components in the Device Tree:
- Yellow: Some pins are still unconnected.
- Green: All pins on this component have been assigned a connection.
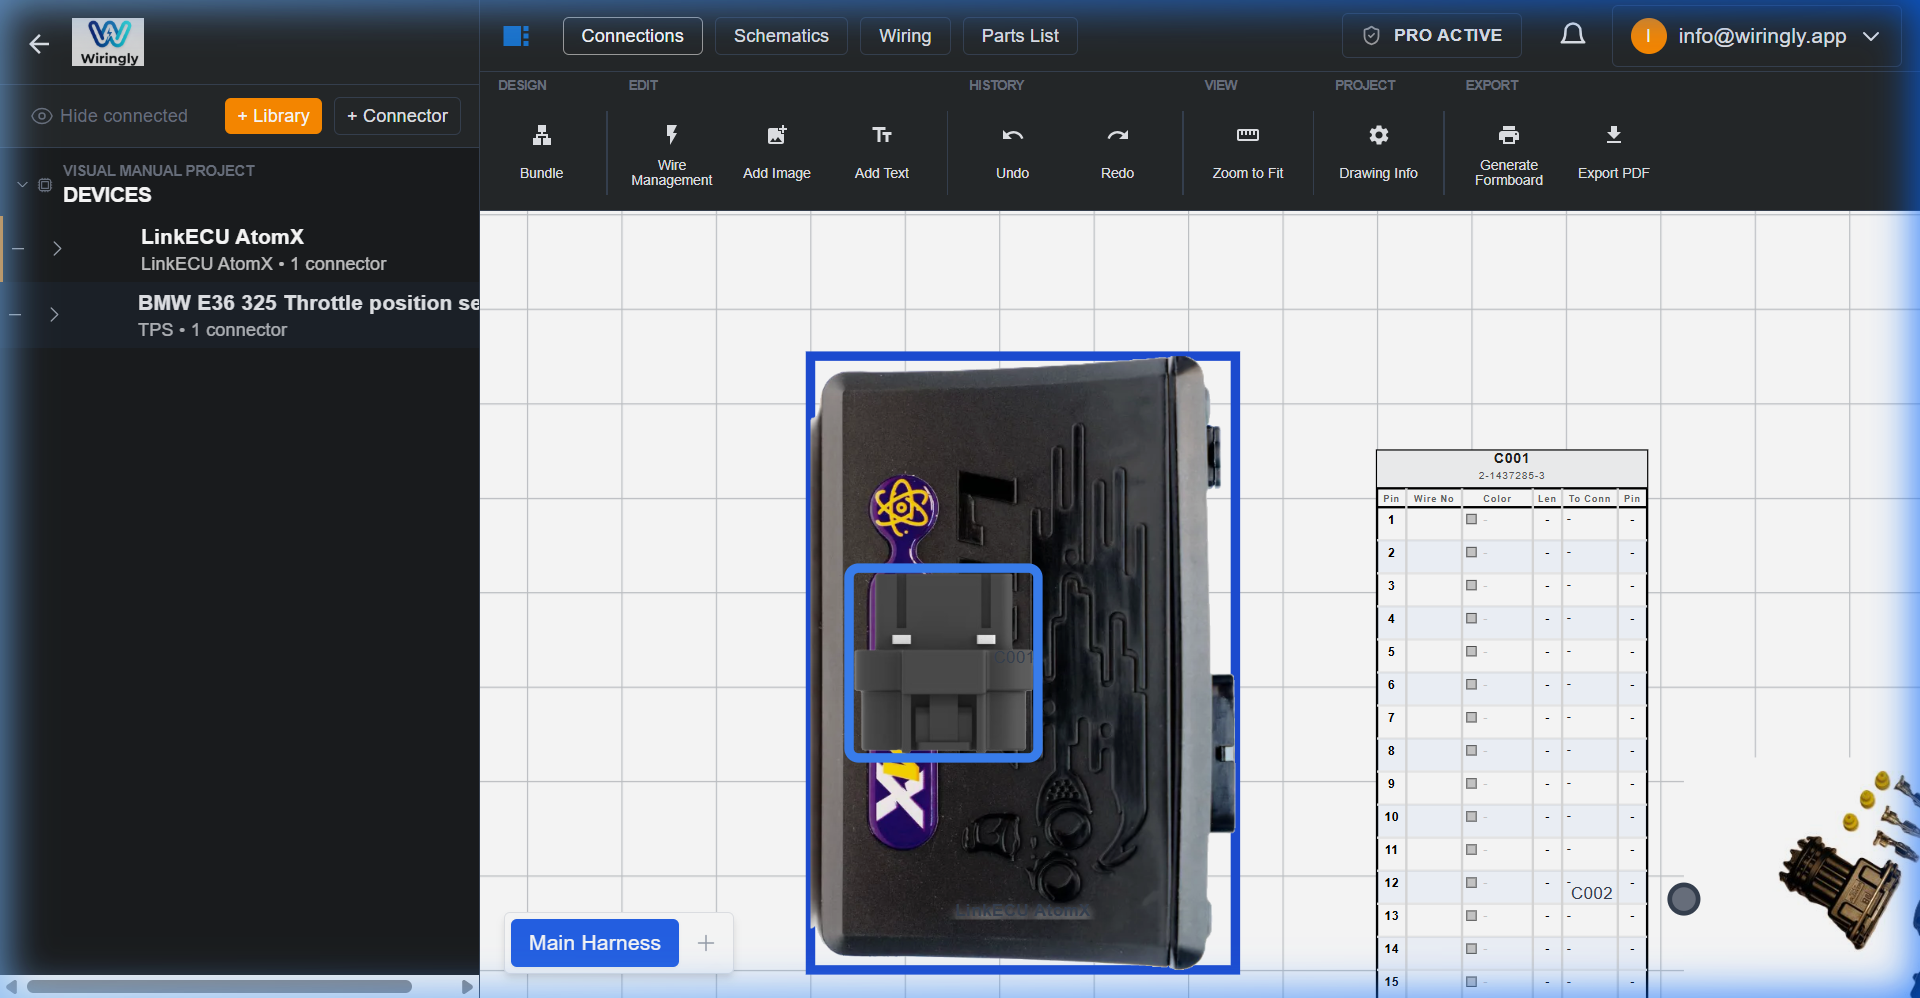
To stay organized on the canvas, Wiringly uses Wiring Tables (Pin Lists). These are automatically created for every device and connector you add. They show every connection in real-time, making it easy to see where each wire starts and ends at a glance without having to dig through menus.
Note: Green doesn't mean your wiring is "correct" for the engine to run—it just means every pin has a wire going somewhere! Double-check your work.